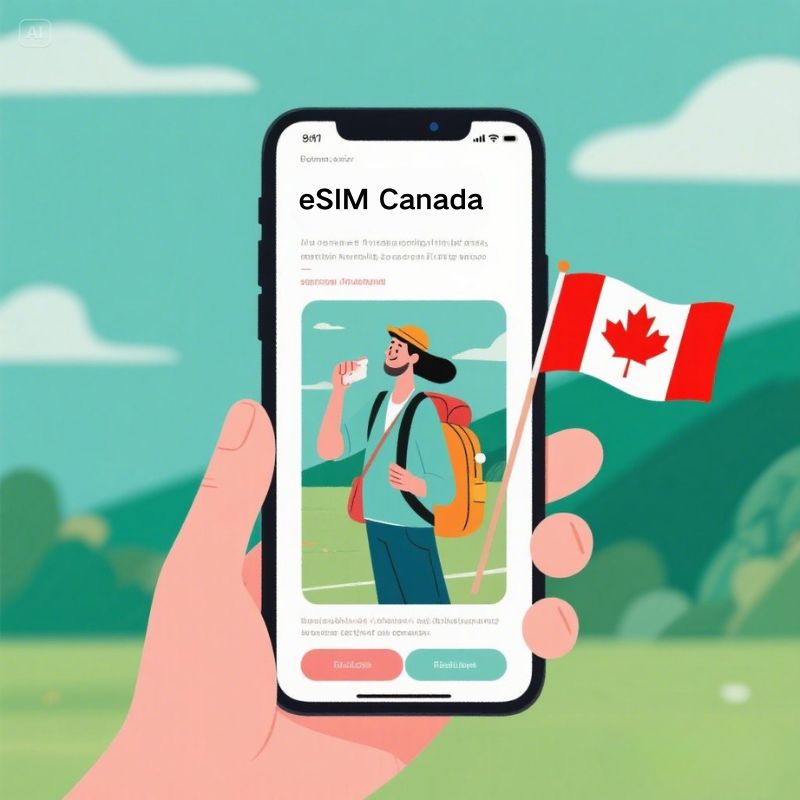
How to Set Up and Activate Your eSIM Canada in Under 5 Minutes
Setting up eSIM Canada is easier than you think. No stores, no shipping, and no tiny SIM tools. Just a few taps and you’re connected to the internet anywhere in Canada! 🇨🇦
Step 1: Make Sure Your Device Supports eSIM
First things first—check if your phone or tablet is eSIM-compatible and unlocked. Most newer iPhones, Google Pixels, and Samsung Galaxy devices support eSIM Canada with no issues. ✅
Step 2: Choose a Reliable eSIM Canada Provider
Select a prepaid eSIM Canada plan from a trusted provider like ChillaxSIM. Plans range from 1GB to unlimited data, so there’s something for every traveler, student, or remote worker. 🧳

Step 3: Scan the QR Code or Enter the Manual Code
Once you’ve purchased your eSIM Canada plan, you’ll receive a QR code via email. Just go to your phone’s mobile settings, tap “Add Cellular Plan,” and scan the QR code. You’re all set! 🎉
Step 4: Turn on Data Roaming and Start Browsing
Enable “Data Roaming” in your mobile settings. Your device will automatically connect to one of Canada’s major local carriers, like Rogers, Telus, or Bell. 📶
Done in Minutes! ⌛
That’s it. No need to wait for a delivery, visit a store, or swap SIM cards. eSIM Canada makes mobile connectivity fast, easy, and stress-free. Try it out and enjoy digital freedom!


